
Do you ever capture a great photo with your iPhone, only to realize later that one of the subjects has a lazy eye? It can be frustrating, but fear not! With the help of some handy editing tools on your iPhone, you can fix lazy eye in pictures and make them look perfect. In this article, we will guide you through the simple steps to correct lazy eye in your iPhone pictures.
Step 1: Open the Photos App
First, locate and open the Photos app on your iPhone. Scroll through your photo library and select the picture with the lazy eye that you want to fix.
Credit: www.youtube.com
Step 2: Tap on Edit
Once you have selected the picture, tap on the Edit button at the top right corner of the screen. This will open up the editing options for your chosen picture.

Credit: repairit.wondershare.com
Step 3: Select the Crop Tool
In the editing options, you will see different tools at the bottom of the screen. Tap on the Crop tool, which is represented by a square icon.
Step 4: Adjust the Picture
Now, you will see a frame around your picture that you can adjust by dragging the corners. Make sure to adjust the frame so that the subject’s face with the lazy eye is centered and in focus.
Step 5: Tap on the Rotate Tool
After adjusting the frame, tap on the Rotate tool, which is represented by a circular arrow icon. This tool allows you to straighten the picture if it is slightly tilted.
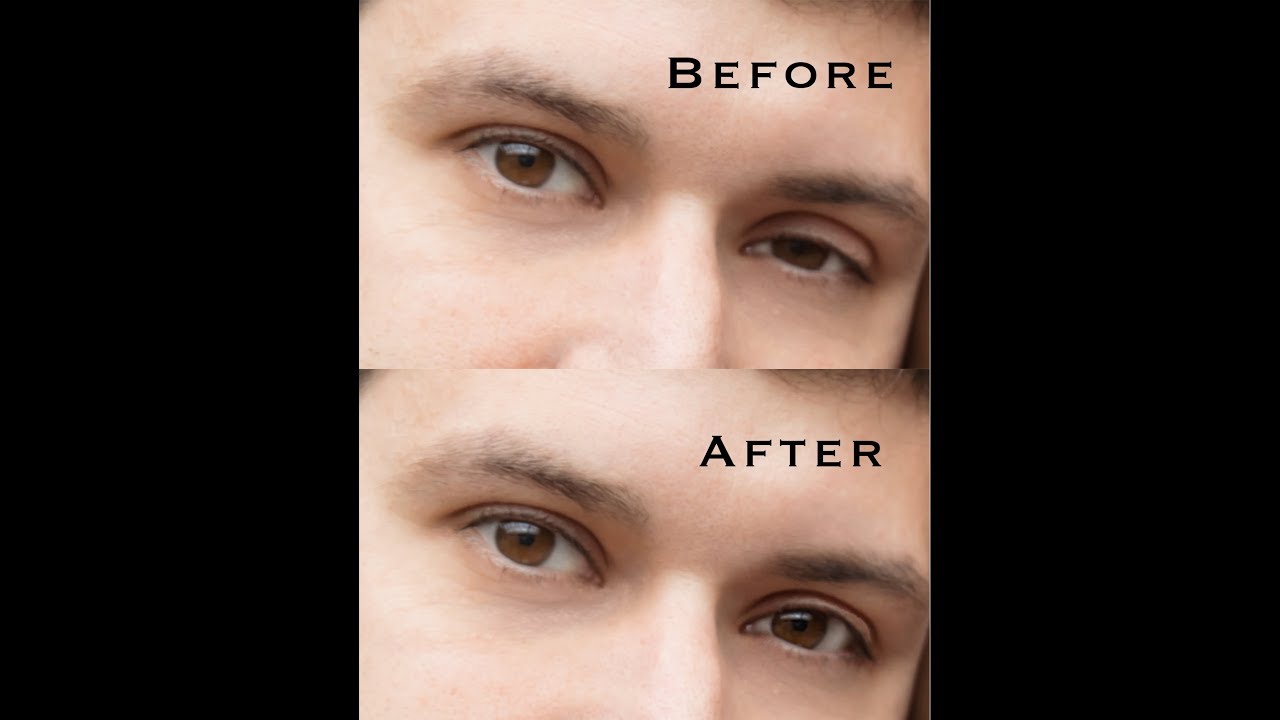
Step 6: Select the Eye Tool
If the lazy eye is still noticeable after the previous steps, tap on the Eye tool, represented by an eye icon. This tool helps you make precise adjustments to the eyes in your picture.
Step 7: Adjust the Eye Position
Using your finger, drag the eye tool over the lazy eye in the picture. The tool will automatically detect the eye position and make adjustments to correct the lazy eye.
Step 8: Customize the Eye Adjustment
If the automatic adjustments are not satisfactory, you can manually adjust the eye position. Use the sliders provided to tweak the eye shape, size, and position until you are satisfied with the result.
Step 9: Tap on Done
Once you have finished adjusting the lazy eye in your picture, tap on the Done button at the bottom right corner of the screen. This will save your edits and apply them to the photo.
Step 10: Save and Share
Lastly, you can save your edited picture to your photo library by tapping on Save. You can also share it directly with friends and family by tapping on the Share button and choosing your preferred sharing method.
Fixing a lazy eye in pictures on your iPhone is quick and easy with these simple steps. Now you can enhance your photos and ensure that everyone looks their best. Remember to practice and experiment with the editing tools to achieve the desired results. Happy editing!
Frequently Asked Questions For How To Fix Lazy Eye In Pictures On Iphone?
How Do I Fix Lazy Eye In Pictures On Iphone?
To fix lazy eye in pictures on iPhone, you can try using editing apps that provide corrective features to adjust the alignment of both eyes.
Can You Fix A Lazy Eye In Pictures On Iphone?
Yes, you can fix a lazy eye in pictures on iPhone by using photo editing apps to adjust the positioning of the eyes.
What Are Some Tips To Correct Lazy Eye In Pictures On Iphone?
To correct lazy eye in pictures on iPhone, try using natural light, positioning the subject properly, and using editing apps to make adjustments.
Is There An App To Fix Lazy Eye In Pictures On Iphone?
Yes, there are several apps available for iPhone that can help fix lazy eye in pictures by adjusting the alignment of the eyes.
